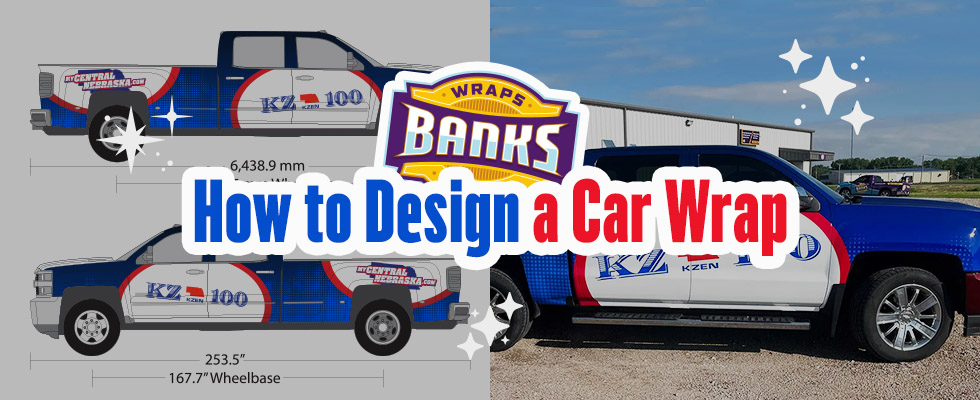
Rev Up Your Ride: How to Craft a Stunning Car Wrap Design
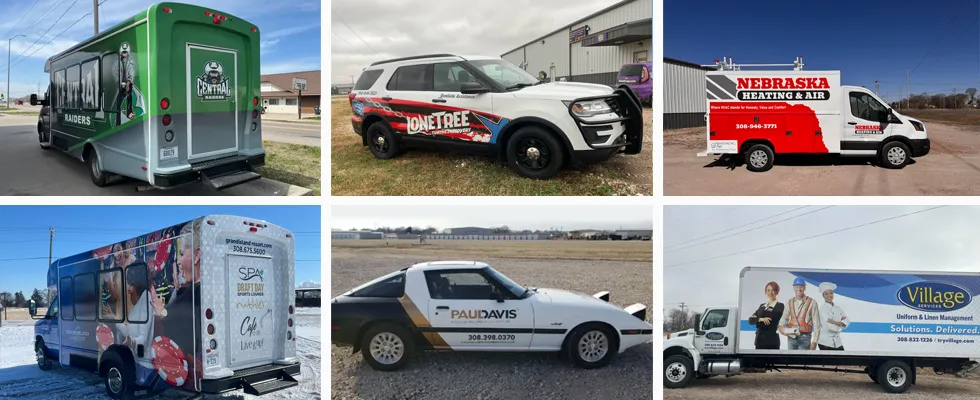
Car wrap designs offer a dynamic way to to customize vehicles for branding, advertising, or for personal expression. This step-by-step guide will teach you how to mix creativity, precision, and a technical understanding of vehicular contours to create a sleek, mobile billboard.
Step 1: Gather Vehicle Specifications
Start by obtaining precise measurements for the exact vehicle model.
Fetch pre-made outlines from platforms like Artstation or CarWrapTemplates – the platforms most wrap designers use. To ensure the design aligns seamlessly across the vehicle’s surface, make sure to map out the sizes of all:
- – Door handles, curves, recesses
- – Bumpers, fenders, panel gaps
- – Panel separations
Step 2: Lock Down Your Design Goals
Clarify the wrap’s purpose upfront:
- – For commercial branding, use company logos, contact details, and brand-compliant colors
- – If it’s for personal customization, create a unique look with patterns, gradients, or textures
- – For promotional wraps, design eye-catching, temporary visuals that make a bold statement
Step 3: Pick the Right Software
To create jaw-dropping car wraps use vector tools like Adobe Illustrator, Inkscape, or CorelDRAW. Most professionals use these tools to create designs that scale flawlessly for print.
Unlike bitmap editors (like Photoshop, GIMP) that create designs that blur when stretched, vector tools keep every curve and line razor-sharp – no matter the size.
Step 4: Create Your Design
- – Start with a Template: Import a vector template of the vehicle to outline panel divisions and cut lines
- – Add Branding Elements: Position logos, images, and key text where they’re easily visible
- – Prioritize Readability: Only use large, bold fonts that are legible from a distance
- – Use High-Resolution Assets: Stick to vector graphics or images with 300+ DPI resolution to prevent blurring
- – Respect Contours: Avoid placing critical design elements over seams, curves, or door handles
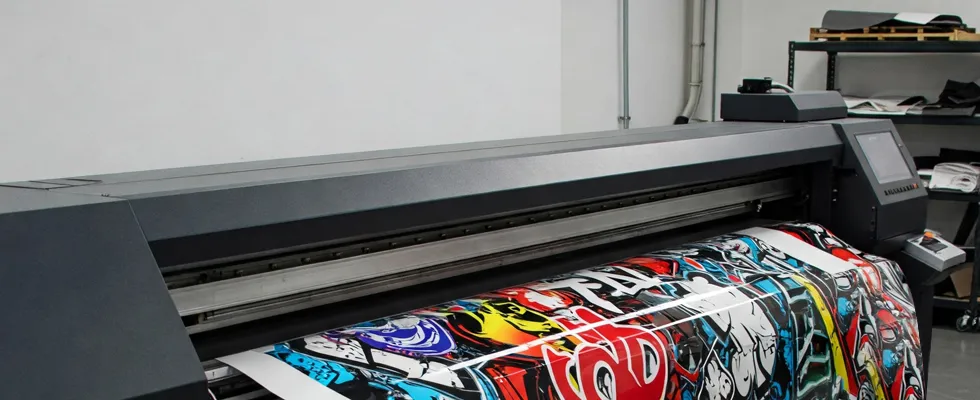
Step 5: Prepare for Printing
Before finalizing your design:
- – Convert Text to Outlines: Convert fonts into vector shapes to ensure there are no missing fonts in the final prints
- – Export Print-Ready Files: Save designs in PDF, AI, or EPS formats for compatibility with high-resoluion commercial printers
- – Add Bleed Margins: Leave 3-5mm of extra space around edges to account for trimming errors
- – Check Color Settings: Use CMYK color mode to ensure accurate replication of hues during printing
Step 6: Call in the Pros
Even flawless designs fail without expert installation. To ensure precise alignment and long-lasting results – partner with a reputable company like the Nebraska-based Banks Wraps & Signs.
These wrap wizards will ship your printed vinyl wraps in no time and guarantee a perfect, bubble-free installation.
A well-executed car wrap can transform your vehicle into a mobile advertisement or a personalized artwork. By following these steps – you too can oversee such transformations!